I know the sweetest little bean and Its her 2nd Birthday this week so I wanted to make her a special crafty present, something practical as she lives in a yurt in the woods, and something she can treasure for years to come. I decided a patchwork quilt would be perfect, except I’ve never managed to finish any patchwork I’ve started, and I only had Three days…
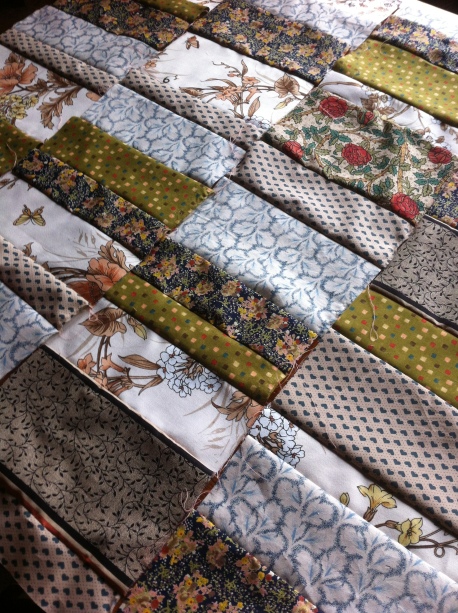
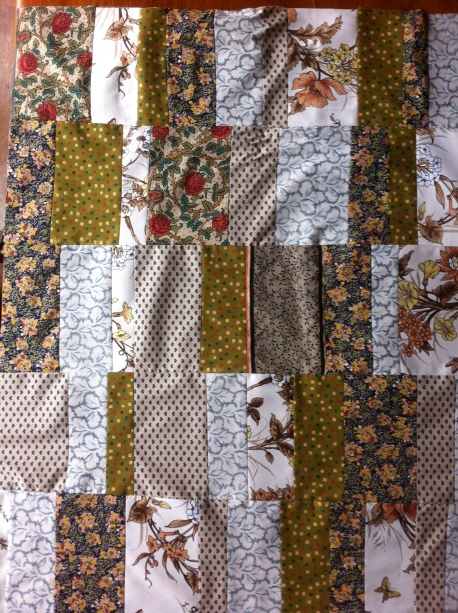
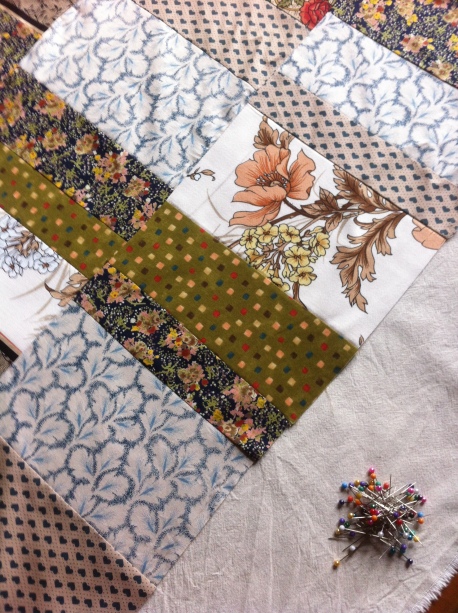
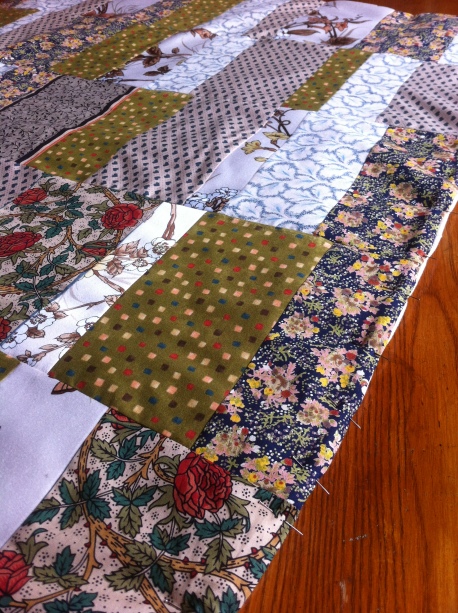
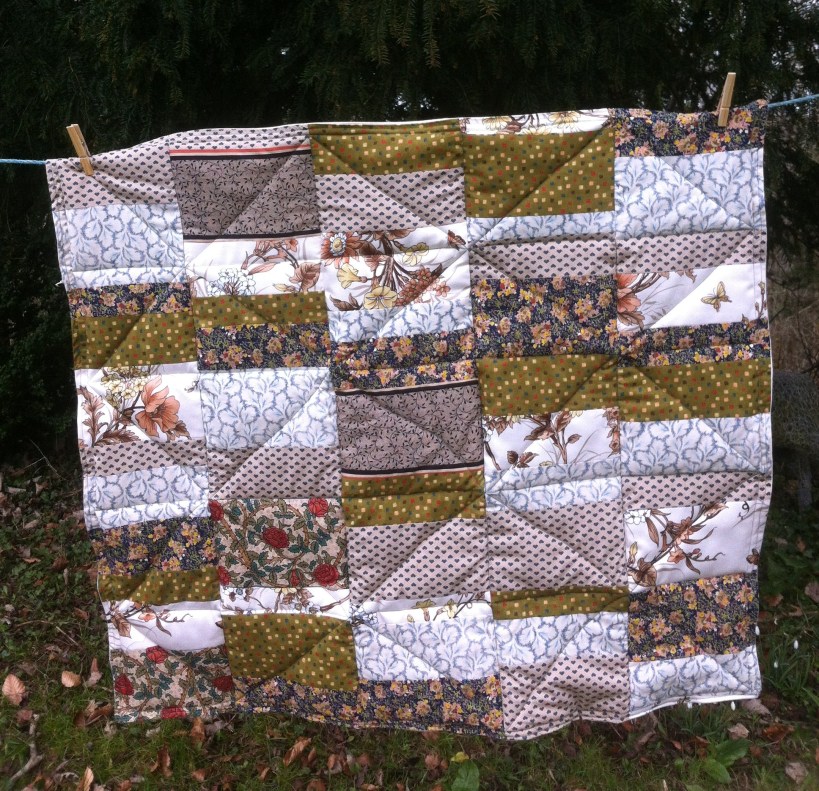
I already had some strips of fabric cut so that was a head start, all but one are gorgeous vintage fabrics I’ve collected over the years. I cut them into different sized rectangles all with the same length (22cm) and varying widths.Then this is what I did:
1. Sew the rectangles together into a strip of suitable length, repeat this until you have 5 strips, iron the strips and sew them together
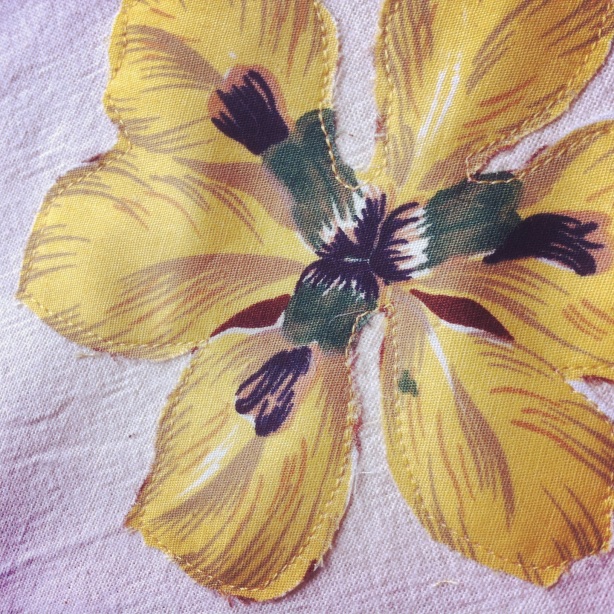
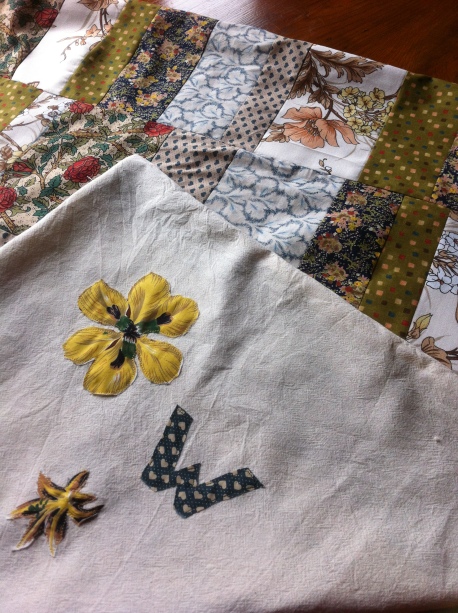
2. Choose a piece of backing fabric and lay the patchwork piece on top, with the right sides touching, pin and cut around it. (I appliqued an initial and some flowers onto the backing fabric first)
3. Sew the two pieces together, as you would a pillowcase, going round all corners but leaving an opening at the bottom
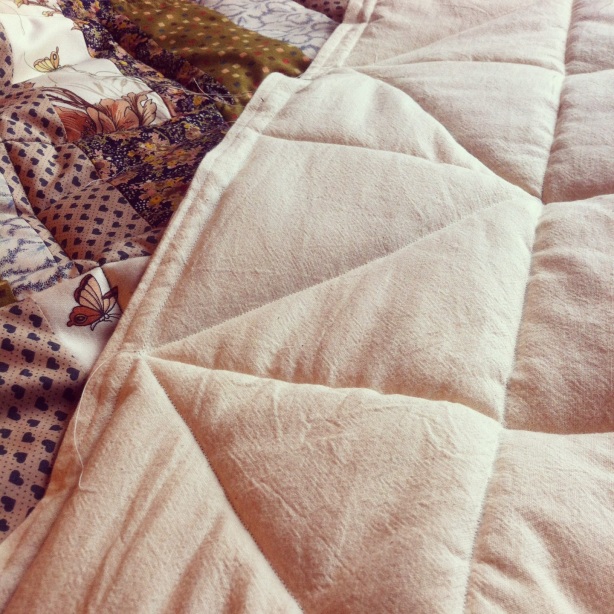
4. Turn inside out, measure the right size piece wadding and put it inside. Pin around the edge to secure it in place and pin the opening flap together, turning it back on itself to create a neat edge
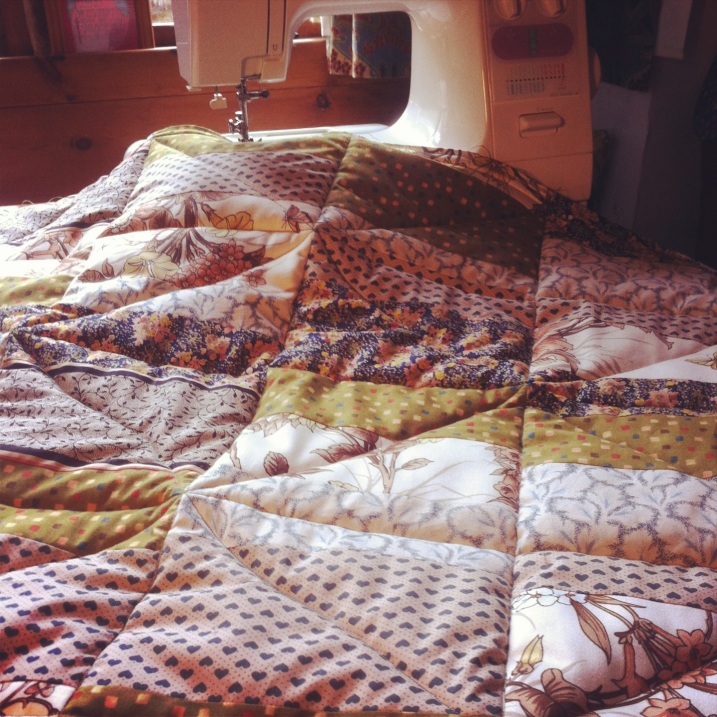
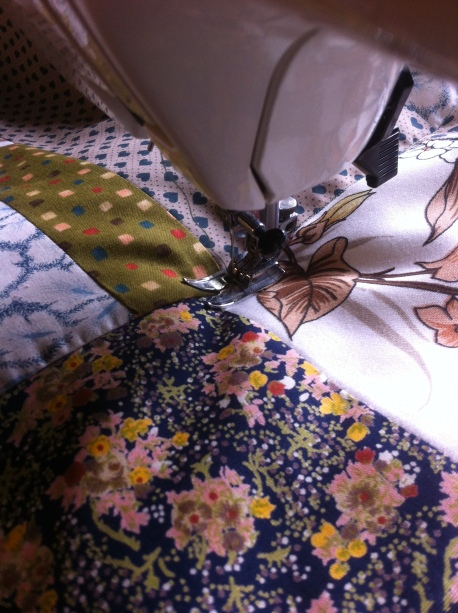
5. Sew all around the edge of the quilt, then sew down the lengths of the strips. Next across to create squares, and then diamonds.
Et Voila! easier than I thought, a manageable size for a first quilt and the perfect gift for a kiddo. Now I feel ready to tackle a larger one with proper edging techniques!
x x x


